Home NAS Powered by FreeBSD and ZFS
Summary
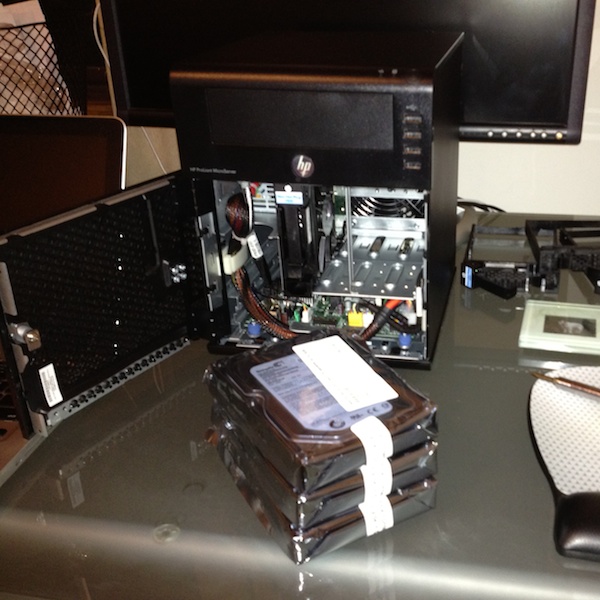
Here’s the tl;dr version: I sold my Mac Pro to fund building a home NAS. The result is a HP MicroServer with 4Gb RAM and 3 × 2Tb hard drives running FreeBSD from the system drive and a ZFS pool across the three 2Tb drives. Total cost: AU$731.67.
Rationale
Recently the Time Machine drive in my Mac Pro started to randomly disappear and Mac OS X would say that I had removed it improperly, which was not true given it was an internal drive still inside the machine.
I’ve seen this behaviour before and in that case it resulted in the drive being replaced due to its inability to complete a short S.M.A.R.T. scan. This drive (also a Samsung) was suffering a similar problem except that initiating the S.M.A.R.T. scan would actually cause it to disappear from the SATA bus. A check on the Samsung site showed that the drive was out of warranty so I was up for a replacement.
The Mac Pro wasn’t getting used for much since I got a i7 powered Mac Book Pro. Its main duties involved storing my iTunes library, Aperture library and running my weather logger. It wasn’t exactly a very energy efficient machine to run all the time. It would in fact keep the study warm overnight when the door was closed during winter.
There was also a problem with replacing the failing drive: I couldn’t afford to do so. So I decided to move the weather logging to my ALIX board and sell the Mac Pro to fund building a home NAS. I was able to sell the Mac Pro very quickly on eBay for $1500 but gave myself a budget of $1000 for the NAS. I wanted the NAS to have reliable, redundant storage, which for me meant ZFS. This implied the new machine would need to run one of Solaris, illumos, FreeBSD, FreeNAS or SmartOS. The requirement to run one of these OS’s ruled out an off the shelf NAS appliance.
I did a lot of research into different ways to build the machine and tried out all the OS options in virtual machines. I considered using basic PC hardware, MiniITX, HP MicroServer, etc. Each had its own pros and cons. The basic PC approach was possibly the cheapest but it was the largest. MiniITX was more expensive and choice of multi hard drive bay cases were limited. I ended up settling on the HP Proliant MicroServer running FreeBSD.
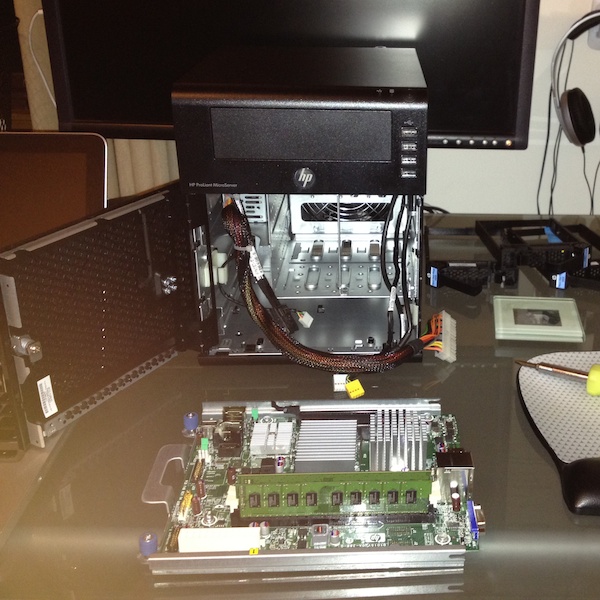
The Build
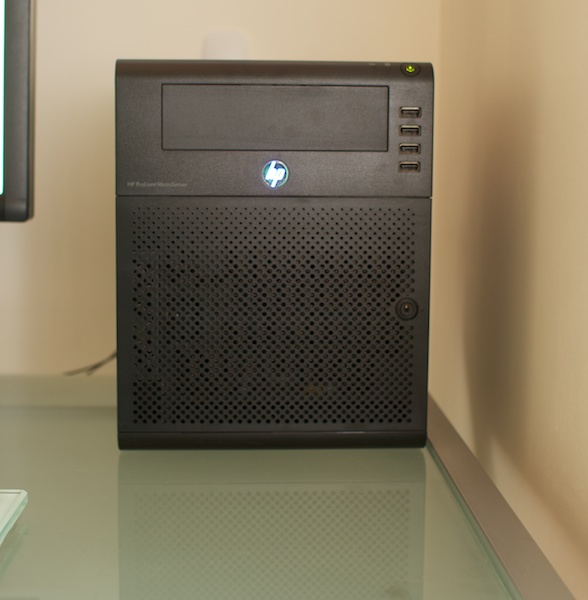
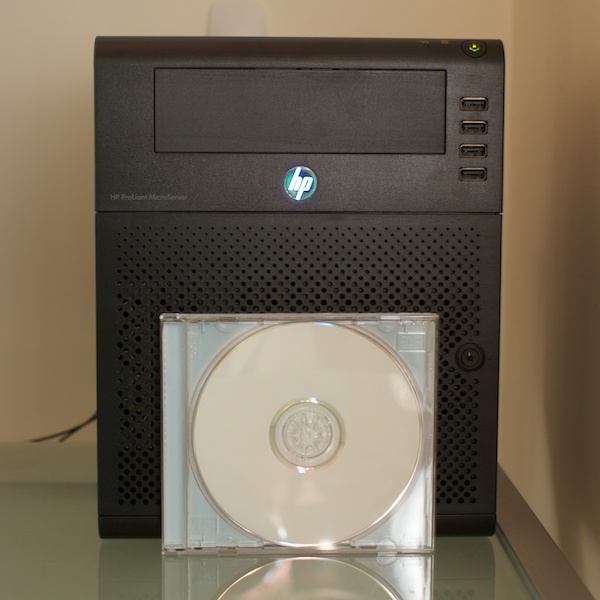
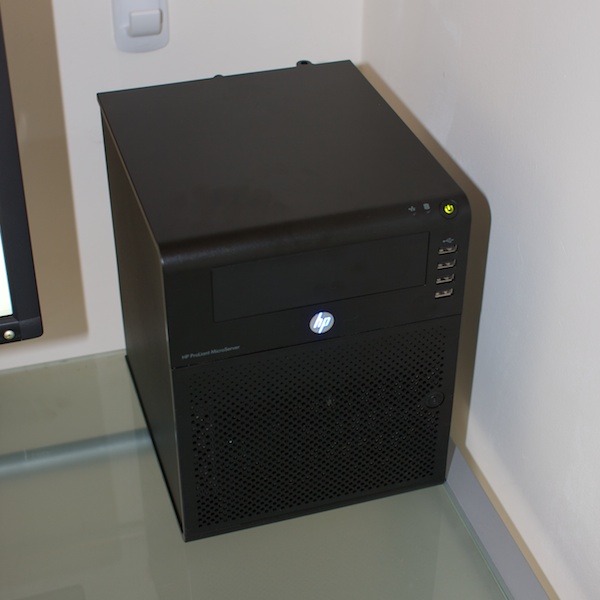
The MicroServer is a neat little unit. It uses a low power dual core AMD Turion II CPU and comes with 2Gb ECC RAM and a 250Gb HD. I has 4 non-hot swappable hard drive bays all packaged up in a squat little box. I ordered mine with an extra 2Gb or RAM as ZFS likes to have plenty of RAM available to run well.
During my research hard drive prices sky rocketed due to floods in Thailand, however I was able to get some at pre-flood prices from ht.com.au. They have since put the price up ~$40 and placed order limits on them.
For the drives I chose 2Tb Seagate Barracuda Green’s. They feature SATA 3 and a 64Mb cache and run at an atypical 5900RPM. These drives seemed to be a good balance across energy efficiency, noise, performance and price.
The final parts list ended up being rather diminutive:
- 1 × HP MicroServer (658553-371) + 2Gb extra RAM $336.82
- 3 × 2Tb Seagate Barracuda Green Hard Drives $394.85
The total cost was $731.67, healthily under budget.
Software
Installing FreeBSD and setting up the ZFS pool was straightforward. I’m running
the drives in a RAIDZ configuration, giving 3.6Tb of usable storage. I
currently have two ZFS file systems on that. One in a normal configuration and
the other for photos with copies=2 set.
The system ran well for a few days however on the forth day one of the brand new drives failed and started making a terrible clicking, beeping noise. Fortunately HT replaced it promptly.
During the time the failed drive was out for replacement the ZFS pool continued
to run fine in its degraded state, with no data loss. Once the new drive was
installed it was a simple matter of issuing zfs replace ada1 and it began the
process of resilvering the data onto the new drive and it has been running
incident free since (still running as of 30 Dec 2016).
$ zpool status
  pool: storage
 state: ONLINE
 scan: resilvered 1.07T in 9h32m with 0 errors on Tue Nov 29 07:13:29 2011
config:

  NAME        STATE     READ WRITE CKSUM
  storage     ONLINE       0     0     0
    raidz1-0  ONLINE       0     0     0
      ada1    ONLINE       0     0     0
      ada2    ONLINE       0     0     0
      ada3    ONLINE       0     0     0

errors: No known data errors
After setting up the OS and file systems the only other thing I needed to so was make the storage available to other machines on the network. Since my house is all Macs I built netatalk via the FreeBSD ports collection to make the storage available via AFP.
With that done the sever shows up in the Finder via Bonjour and copying/accessing data is dead simple.
 Stay in touch!
Follow me on Twitter or Mastodon, subscribe to the feed, or send me an email.