How to Install Consolas on Mac OS X
I’ve previously written about installing the Consolas font on Mac OS X. This post bundles up those posts into a single handy reference. Following these instructions will allow you to use the following fonts: Calibri, Cambria, Candara, Consolas, Constantia and Corbel.
Installation
- Download the Open XML File Format Converter for Mac from the Microsoft Mactopia download page.
- Double click the disk image if it wasn’t automatically mounted. You will see an Open XML File Format Converter meta package (.mpkg).
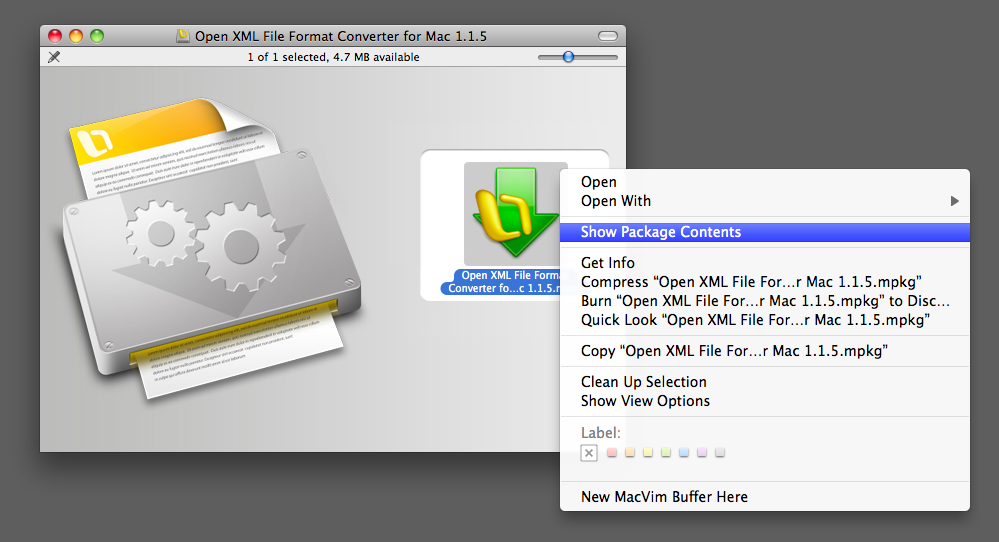
- Right click (or Control-click) the meta package and choose “Show Package Contents”.
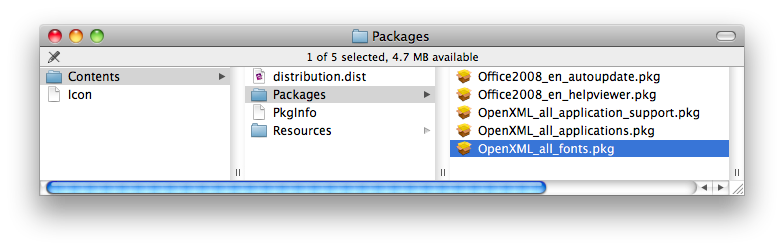
- In the Finder window that opens, click “Contents”, then “Packages”.
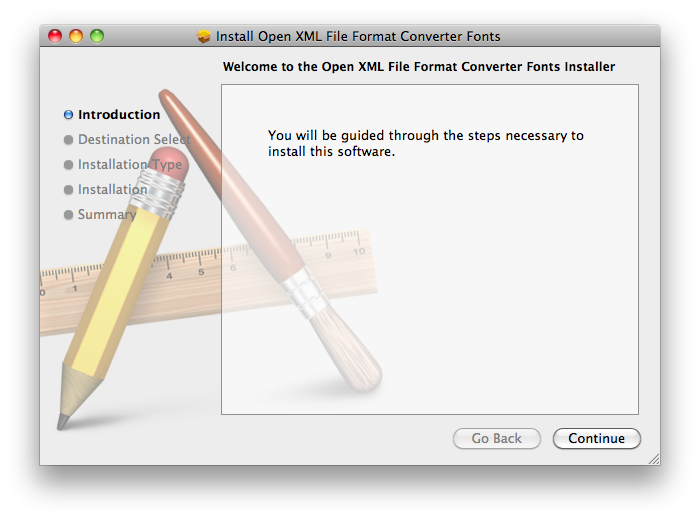
- Double click “OpenXML_all_fonts.pkg”, which will run the installer.
Fine Tuning
At this point Consolas is now installed, but depending on your font smoothing settings it may look a bit thin and ugly. This can be fixed by adjusting these settings.
For Mac OS X Snow Leopard its necessary to set the right value in the Terminal because Apple removed it from System Preferences:
- Open Terminal (Applications > Utilities > Terminal)
-
Copy and paste the following at the terminal prompt and press Return:
defaults -currentHost write -globalDomain AppleFontSmoothing -int 2
For the Terminal shy, this is what the command is doing: The
defaults command manipulates the user defaults, also known as
preferences. This particular use of it sets the AppleFontSmoothing setting at
the global (I.e. all users or system) level to the integer 2, which corresponds
to the Medium font smoothing setting in previous versions of Mac OS X.
For Mac OS X Leopard or earlier its easier:
- Open System Preferences
- Click “Appearance”
- At the bottom, set Font smoothing to, “Medium (best for Flat Panel)”
You will need to restart any running applications for them to pick up the new font smoothing settings.
 Stay in touch!
Follow me on Twitter or Mastodon, subscribe to the feed, or send me an email.