A Coding Retreat and Getting Embedded Rust Running on a SensorTag
This past long weekend some friends on I went on a coding retreat inspired by John Carmack doing similar in 2018. During the weekend I worked on adding support for the Texas Instruments SensorTag to the embedded Rust ecosystem. This post is a summary of the weekend and what I was able to achieve code wise.
Back in March 2018 John Carmack posted about a week long coding retreat he went on to work on neural networks and OpenBSD. After reading the post I quoted it to some friends and commented:
I finally took another week-long programming retreat, where I could work in hermit mode, away from the normal press of work.
In the spirit of my retro theme, I had printed out several of Yann LeCun’s old papers and was considering doing everything completely off line, as if I was actually in a mountain cabin somewhere
I kind of love the idea of a week long code retreat in a cabin somewhere.
One of my friends also liked the idea and actually made it happen! There was an initial attempt in June 2018 but life got in the way so it was postponed. At the start of the year he picked it up again and organised it for the Labour day long weekend, which just passed.
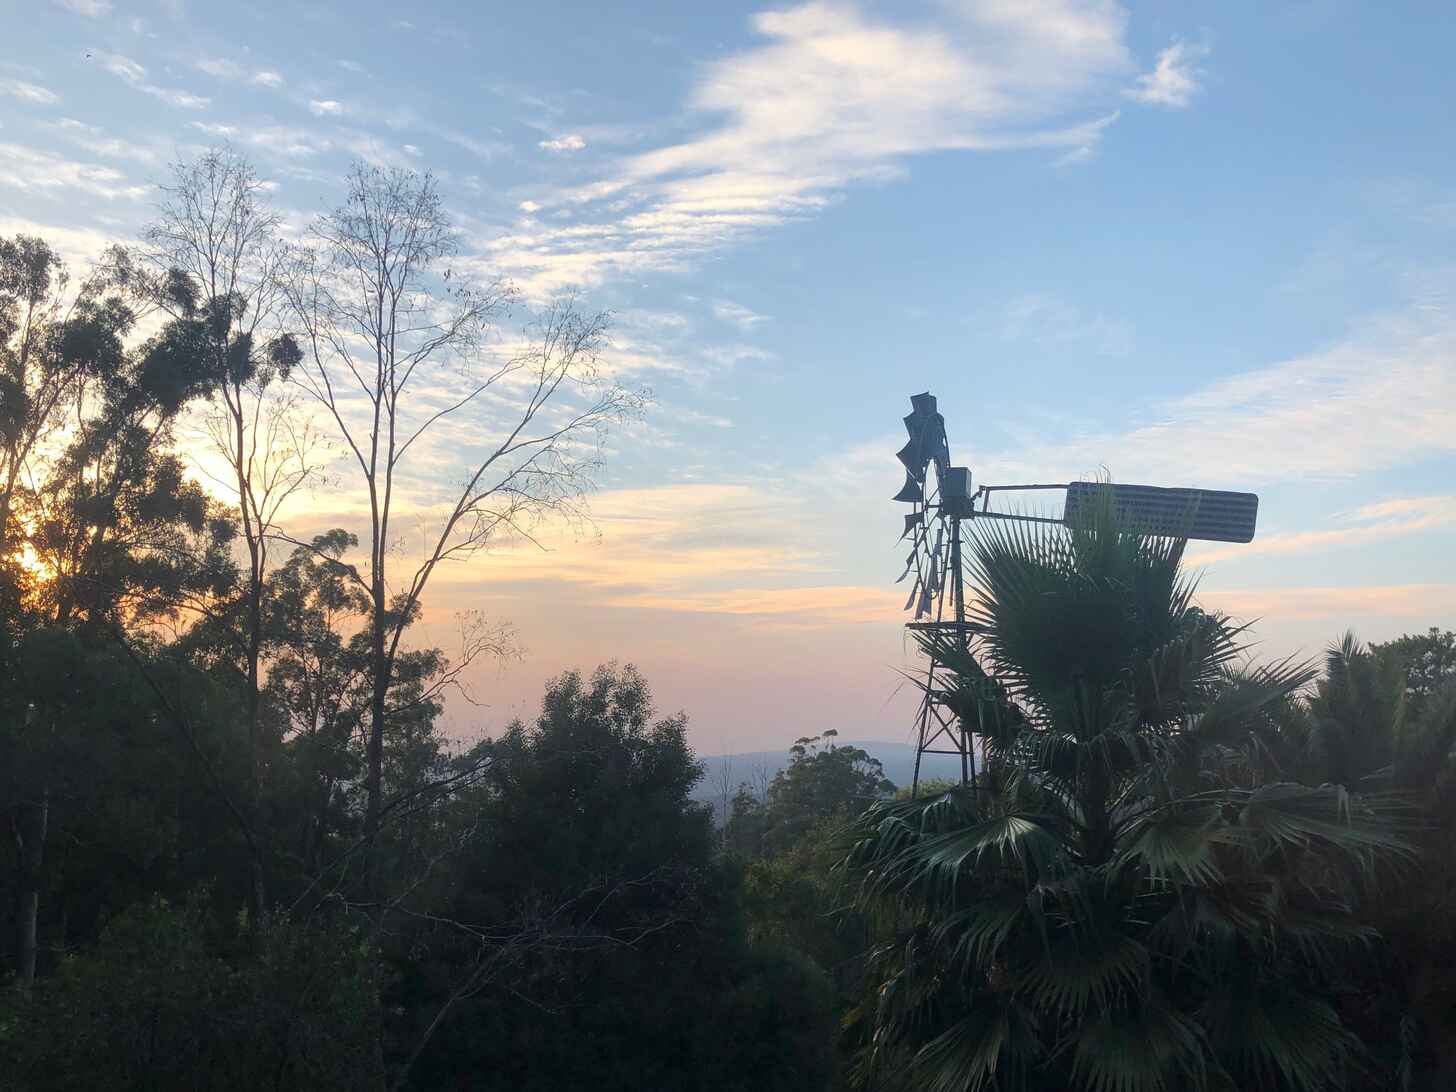
We rented an Airbnb in the Dandenong Ranges, 45 minutes from Melbourne. Six people attended, two of which were from interstate. The setting was cozy, quiet and picturesque. Our days involved coding and collaborating, shared meals, and a walk or two around the surrounds.
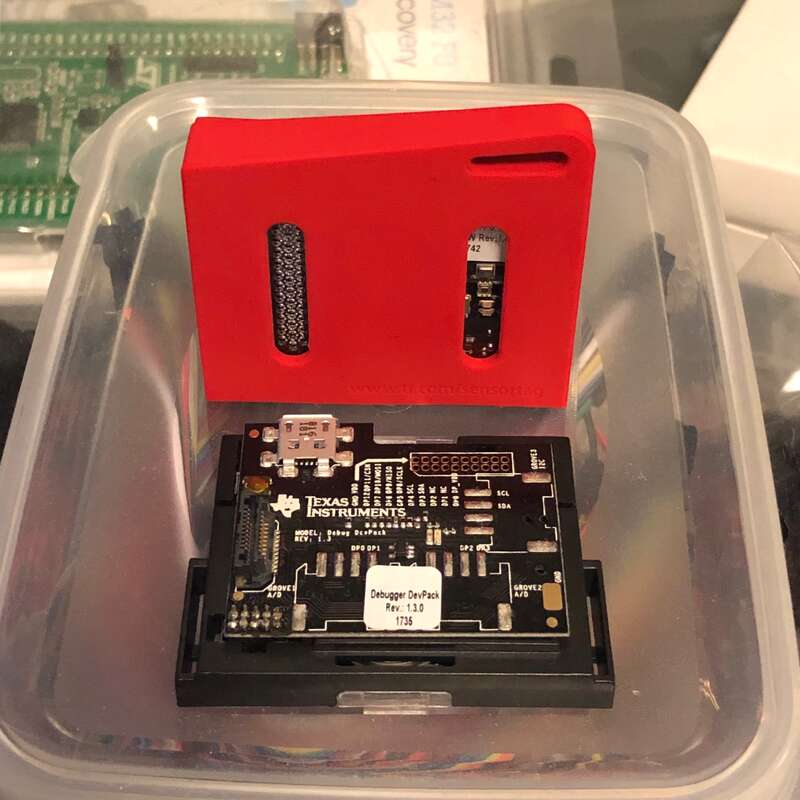
After linux.conf.au I got inspired to set up some self-hosted home sensors and automation. I did some research and picked up two Texas Instruments SensorTags and a debugger add-on. It uses a CC2650 microcontroller with an ARM Cortex-M3 core and has support for a number of low power wireless standards, such as Bluetooth, ZigBee, and 6LoWPAN. The CC2650 also has a low power 16-bit sensor controller that can be used to help achieve years long battery life from a single CR2032 button cell. In addition to the microcontroller the SensorTag also add a bunch of sensors, including: temperature, humidity, barometer, accelerometer, gyroscope, and light.
My project for the weekend was to try to get some Rust code running on the SensorTag. Rust has good support out of the box for targeting ARM Cortex microcontrollers but there were no crates to make interacting with this particular chip or board easy, so I set about building some.
The first step was generating a basic crate to allow interacting with the chip
without needing to wrap everything in an unsafe block and poke at random
memory addresses. Fortunately svd2rust can automate this by converting System
View Description XML files (SVD) into a Rust crate. Unfortunately TI don’t
publish SVD files for their devices. As luck would have it though, M-Labs
have found that TI do publish XML descriptions in format of their own called
DSLite. They have written a tool, dslite2svd, that converts this to SVD, so
you can then use svd2rust. It took a while to get dslite2svd working. I had
to tweak it to handle differences in the files I was processing, but eventually
I was able to generate a crate that compiled.
Now that I had an API for the chip I turned to working out how to program and debug the SensorTag with a very basic Rust program. I used the excellent embedded Rust Discovery guide as a basis for the configuration, tools, and process for getting code onto the SensorTag. Since this was a different chip from a different manufacturer it took a long time to work out which tools worked, how to configure them, what format binaries they wanted, create a linker script, etc. A lot of trial and error was performed, along with lots of searching online with less than perfect internet. However, by Sunday I could program the device, debug code, and verify that my very basic program, shown below, was running.
fn main() -> ! {
    let _y;
    let x = 42;
    _y = x;

    // infinite loop; just so we don't leave this stack frame
    loop {}
}
The combination that worked for programming was:
cargo build --target thumbv7m-none-eabi- Convert ELF to BIN using
cargo objcopy, which is part of cargo-binutils:cargo objcopy --bin sensortag --target thumbv7m-none-eabi -- -O binary sensortag.bin - Program with UniFlash:
- Choose CC2650F128 and XDS1100 on the first screen
- Do a full erase the first time to reset CCFG, etc
- Load image (select the
.binfile produced above)
For debugging:
- Build OpenOCD from git to get support for the chip and debugger (I used the existing AUR package)
- Run OpenOCD:
openocd -f jtag/openocd.cfg - Use GDB to debug:
arm-none-eabi-gdb -x jtag/gdbinit -q target/thumbv7m-none-eabi/debug/sensortag - The usual
mon reset haltin GDB upsets the debugger connection. I found thatsoft_reset_haltwas able to reset the target (although it complains about being deprecated).
Note: Files in the jtag path above are in my
sensortag repo.
Trying to program through openocd failed with an error that the vEraseFlash
command failed. I’d be curious to know if anyone has got this working as I’d
very much like to ditch the huge 526.5 MiB UniFlash desktop-web-app dependency
in my workflow.
Now that I could get code to run on the SensorTag I set about trying to use the generated chip support crate to flash one of the on board LEDs. I didn’t succeed in getting this working by the time the retreat came to an end, but after I arrived home I was able to find the source of the hard faults I was encountering and get the LED blinking! The key was that I needed to power up the peripheral power domain and enable the GPIO clocks to be able to enable an output GPIO.
Below is the code that flashes the LED. It should be noted this code is operating with very little abstraction and is using register and field names that match the data sheet. Future work to implement the embedded-hal traits for this controller would make it less verbose and less cryptic.
#![deny(unsafe_code)]
#![no_main]
#![no_std]

#[allow(unused_extern_crates)] // NOTE(allow) bug rust-lang/rust#53964
extern crate panic_halt; // panic handler

// SensorTag is using RGZ package. VQFN (RGZ) | 48 pins, 7×7 QFN

use cc2650_hal as hal;
use cc2650f128;
use cortex_m_rt::entry;

use hal::{ddi, delay::Delay, prelude::*};

pub fn init() -> (Delay, cc2650f128::Peripherals) {
    let core_peripherals = cortex_m::Peripherals::take().unwrap();
    let device_peripherals = cc2650f128::Peripherals::take().unwrap();

    let clocks = ddi::CFGR {
        sysclk: Some(24_000_000),
    }
    .freeze();

    let delay = Delay::new(core_peripherals.SYST, clocks);

    // LEDs are connected to DIO10 and DIO15
    // Configure GPIO pins for output, maximum strength
    device_peripherals.IOC
        .iocfg10
        .modify(|_r, w| w.port_id().gpio().ie().clear_bit().iostr().max());
    device_peripherals.IOC
        .iocfg15
        .modify(|_r, w| w.port_id().gpio().ie().clear_bit().iostr().max());

    // Enable the PERIPH power domain and wait for it to be powered up
    device_peripherals.PRCM.pdctl0.modify(|_r, w| w.periph_on().set_bit());
    loop {
        if device_peripherals.PRCM.pdstat0.read().periph_on().bit_is_set() {
            break;
        }
    }

    // Enable the GPIO clock
    device_peripherals.PRCM.gpioclkgr.write(|w| w.clk_en().set_bit());

    // Load settings into CLKCTRL and wait for LOAD_DONE
    device_peripherals.PRCM.clkloadctl.modify(|_r, w| w.load().set_bit());
    loop {
        if device_peripherals.PRCM.clkloadctl.read().load_done().bit_is_set() {
            break;
        }
    }

    // Enable outputs
    device_peripherals.GPIO
        .doe31_0
        .modify(|_r, w| w.dio10().set_bit().dio15().set_bit());

    (delay, device_peripherals)
}

#[entry]
fn entry() -> ! {
    let (mut delay, periphs) = init();
    let half_period = 500_u16;

    loop {
        // Turn LED on and wait half a second
        periphs.GPIO.dout11_8.modify(|_r, w| w.dio10().set_bit());
        delay.delay_ms(half_period);

        // Turn LED off and wait half a second
        periphs.GPIO.dout11_8.modify(|_r, w| w.dio10().clear_bit());
        delay.delay_ms(half_period);
    }
}
The rest of the code is up on Sourcehut. It’s all in a pretty rough state at the moment. I plan to tidy it up over the coming weeks and eventually publish the crates. If you’re curious to see it now though, the repos are:
-
cc2650f128

 – chip support crate
generated by
– chip support crate
generated by dslite2svdandsvd2rust. -
cc26x0-hal (see
wipbranch, currently very rough). - sensortag – LED flashing code. I hope to turn this into a board support crate eventually.
Overall the coding retreat was a great success and we hope to do another one next year.
✦
Previous Post: Rebuilding My Personal Infrastructure With Alpine Linux and Docker
Next Post: My First 3 Weeks of Professional Rust
 Stay in touch!
Follow me on Twitter or Mastodon, subscribe to the feed, or send me an email.